[React] Springboot + react 기본세팅
in Programming on Frontend
결국 리액트에까지 손을 대게되었다.. (어디까지가는가 나의 프론트엔드 기술스택)
어쨌든, springboot + react 를 한 프로젝트에서 사용하는 세팅방법을 알아보자
1. node.js / npm / yarn 설치
# node.js, npm 설치
$ brew install node

# yarn 설치
$ npm install --global yarn
2. backend 프로젝트 생성


그외는 본인취향껏..
backend classpath(기준경로) 설정
../src/main/resources/application.yaml 에 아래와같이설정
server:
  port : 8080 # 포트는 자기 마음대로..

spring:
  profiles.active: dev
  web:
    resources:
      static-locations: classpath:/static, classpath:/frontend # 이부분 추가해야됨
root controller 설정
package com.example.reactdemo.controller;

import org.springframework.stereotype.Controller;
import org.springframework.web.bind.annotation.GetMapping;

@Controller
public class WebController {
    @GetMapping(value="/")
    public String root(){
        return "index.html";
    }
}
frontend에서 classpath 에 index.html 을 떨구는 설정을 할거기때문에, root path에 접근시 classpath의 index.html을 리턴하는 코드를 작성
3. frontend 디렉토리 생성
프로젝트 폴더 최상위에서 아래명령어 실행
yarn create react-app frontend
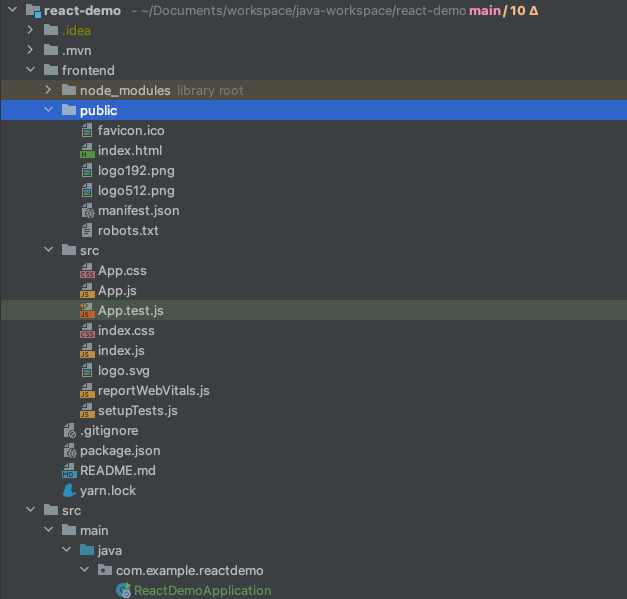
frontend 폴더에 기본 리액트앱 설정 다 되서 떨어짐
package.json 빌드패스 설정
리액트앱 빌드한 결과물에 스프링부트앱 classpath에 떨어질수잇게 설정해줘야함
"scripts": {
    "start": "react-scripts start",
    "build": "BUILD_PATH='../src/main/resources/frontend' react-scripts build", // 이부분에 build path를 잡아준다
    "test": "react-scripts test",
    "eject": "react-scripts eject"
  },
package.json 파일 내 scripts 부분에 ``“build”: react-scripts build”,` 라고 써있는 빌드명령어부분을 위와 같이 변경해준다.
이후 yarn build 하면 react 결과물은 ../src/main/resources/frontend 에 떨어짐
proxy설정
fe 에서 api호출시 backend 서버를 호출하게하기위해 proxy 설정을 걸어준다
http-proxy-middleware 라이브러리 설치
yarn add http-proxy-middleware
../frontend/src 에 setupProxy.js 파일 추가
const {createProxyMiddleware} = require('http-proxy-middleware');

module.exports = function (app) {
  app.use(
    '/api',
    createProxyMiddleware({
      target: 'http://localhost:8080',
      changeOrigin: true,
    })
  )
};
인제 axios로 /api/어쩌고 라는 형식의 url을 호출하면 자동으로 [localhost:8080/api/어쩌고](http://localhost:8080/api/어쩌고) 로 프록시해줌
디버깅
cd frontend
yarn start
이렇게하면 localhost:3000 에서 프론트엔드서버가 떠서 바로바로 디버깅가능
배포
cd frontend
yarn build
이렇게하면 위 package.json 에서 지정한 build path에 최종 리액트앱 빌드결과물을 떨궈서, springboot 가동하여 빌드된 결과물로 접속할수있게된다
4. API 호출예제
axios 설치함
yarn add axios
ApiTestComponent 생성
import React, {useState} from 'react';
import axios from "axios";

const ApiTestComponent = () => {
    const [text, setText] = useState('');
    const onClickEnter = () => {
        axios.get('/api/test')
            .then(res => {
                if (res.data !== undefined) {
                    setText(res.data);
                }
            })
            .catch((e) => {
                console.log(e);
            })
    };

    return (
        <div>
            <button onClick={onClickEnter}>입장</button>
            <h1>{text}</h1>
        </div>
    );
};

export default ApiTestComponent;
App.js 에 ApiTestComponent import
import ApiTestComponent from "./ApiTestComponent";

const App = () => {
  return <ApiTestComponent></ApiTestComponent>
}

export default App;
backend에 /api/test API 추가
package com.example.demo5.controller;

import org.springframework.web.bind.annotation.GetMapping;
import org.springframework.web.bind.annotation.RequestMapping;
import org.springframework.web.bind.annotation.RestController;

@RestController
@RequestMapping("/api")
public class ApiController {
    @GetMapping("/test")
    public String getTest(){
        return "test";
    }
}
프록싱이 잘되는걸 확인할수있다